Today I show you our next recycling guide DIY. Again, we decided to perform a garage with rolls of toilet paper. Great idea in style „Something New Out of Something Old”, and in this case interschool competition organized within the project Wroclaw Children teach Segregate of Garbage.
The previous two projects have been made by me for the most part. This time it was a project of our son, almost entirely made by him. Almost, because I still do not give him a sharp knife to cut the cardboard. He also needed a little help with gluing, but … everything in order.
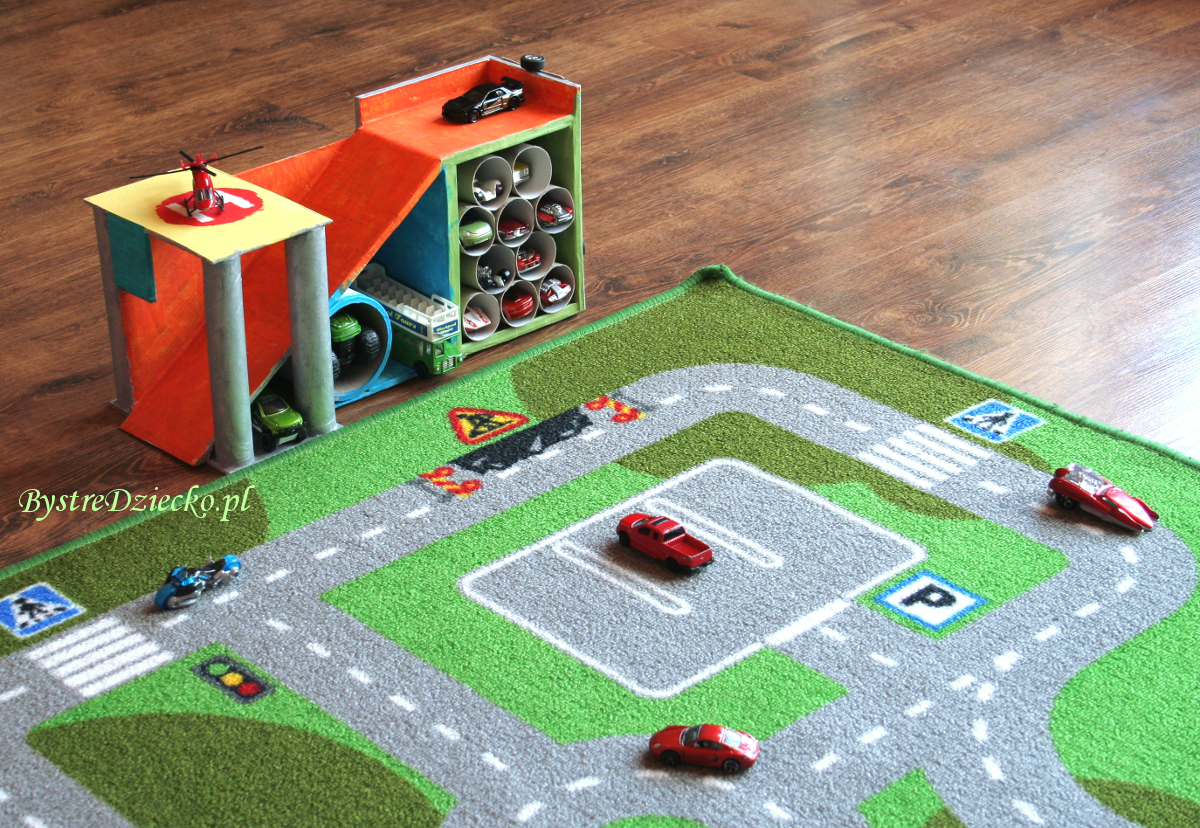
Toy garage made from toilet paper rolls and cardboard boxes
- Materials nedded for our recycled crafts:
- butter box (from the cooling showcase for shop),
- corrugated cardboard on the reinforcement (eg. from the juice 3l),
- 10 toilet paper rolls,
- 4 empty paper rolls of plastic bags,
- roll from the adhesive tape,
- old newspapers,
- adhesive tape or masking tape,
- glue to the wood (PVA glue) and water,
- scissors,
- sharp knife,
- hand saw (optional),
- brush,
- water tank and glue pot.
We start by gathering the materials needed for bonding the garage for cars. The project can not be too big to be able to execute it a six-year boy, which is why we limited to the area of a small carton of butter, directly from the shop showcase.
We also need toilet paper rolls, a empty tape roll for the larger model toy cars, and empty rolls of plastic bags under the helipad – request son.
- Decorative materials:
- acrylic paints,
- cutouts from thematic newspapers,
- thin cardboard under the subtitle,
- string or twine,
- parts of cars with broken toys,
- glue or hot glue.
Additional board, even from juice cartons, or greater boxes transport, will be needed to make the landing, side walls and extending the slide.
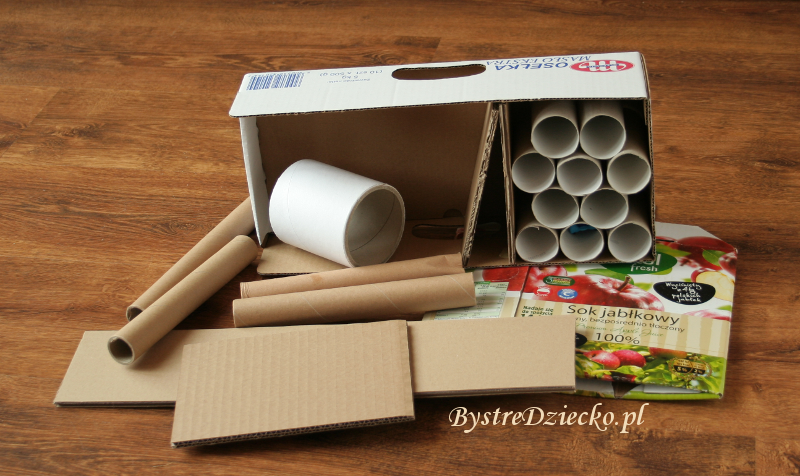
Materials needed to do the garage
First we start from the cut workpieces made of cardboard: 2 sidewalls, that car not fell from the upper level of the parking, 2 internal walls (to be glued together, and the garage will become more stable), 2 platforms for helicopters (top – landing, and the lower – base the column), foot garage, extension slides, and the threshold under the rolls of toilet paper.

Workpieces of cardboard needed to make the garage
In the next step we notched butter box so as to create a slide for cars. If the empty paper rolls of plastic bags are too high, we trim them to the correct height. It’s hard to do it with a knife, so try to reach for the saw to help yourself to the task.
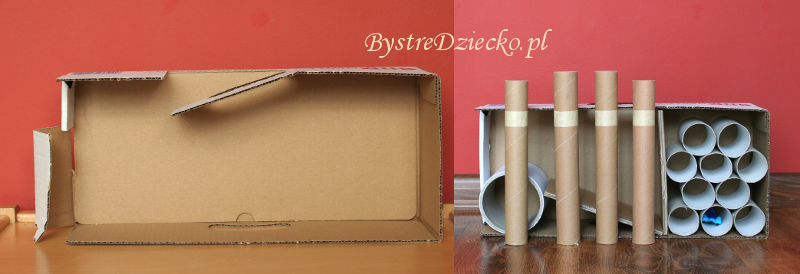
Cutting boxes and shortening rolls of carrier bags
It is a time for gluing. With all the elements prepared, we glue all one after the other with PVA glue, and more specifically glue to the tree and paper. We load each element during bonding. We press our hands, books, or glue the edges with masking tape.
First, we glue the inside walls, then sidewalls, further basis for the column and the other foot, the column, and a heliport.
Paste threshold under the rolls of toilet paper, which making it difficult to falling out cars while moving the garage. Without this threshold, when the rollers are flat, cars always fall out …
In our case, it was also found that we had to seal the hole used to moving empty cardboard from butter.

Gluing following elements of garage
[reklama-wpis-1]
Gdy wszystkie te elementy są już sklejone, przystępujemy do klejenia zjeżdżalni. Po przymierzeniu tektury zgniatamy lekko dolny koniec tak, by bez szczeliny dotykała podłoża. Gdy dolny koniec zostanie dopasowany zaznaczamy ołówkiem miejsce, w którym powinna zostać zgięta zjeżdżalnia. Karton zaginamy w miejscu narysowania linii, a ułatwi to lekkie zagłębienie w tekturze, które zrobimy tępym przedmiotem. W naszym przypadku był to zewnętrzny brzeg nożyczek, którym delikatnie jeździliśmy po kartonie wzdłuż prowadnicy (ekierki).

Klejenie zjeżdżalni garażu
Rolki po papierze toaletowym można na stałe przykleić do garażu, bądź tylko do siebie wzajemnie. My wybieramy to drugie rozwiązanie, ponieważ stanowią one najsłabsze ogniwo w naszym garażu, a za jakiś czas może okazać się konieczna ich wymiana. Tak będzie łatwiej.
Klej nanosimy w miejscach styku poszczególnych rolek przy pomocy pędzla, bądź wprost z butelki z wąskim aplikatorem. Wykorzystujemy tu pojemnik po farbie do włosów, bo klej kupujemy w dużych opakowaniach.

Klejenie rolek po papierze toaletowym w formę garażu
Teraz pora na papier mache. Garaż pokrywamy warstwą gazet, aby uzyskać twardszą powierzchnię, solidniejsze połączenia klejonych elementów, oraz zakleić otwory w tekturze warstwowej. Będzie ładniej, a całość będzie mniej narażona na uszkodzenia. Warstwa papieru umożliwia również pomalowanie śliskich kartonów po soku, które producent pokrywa folią.
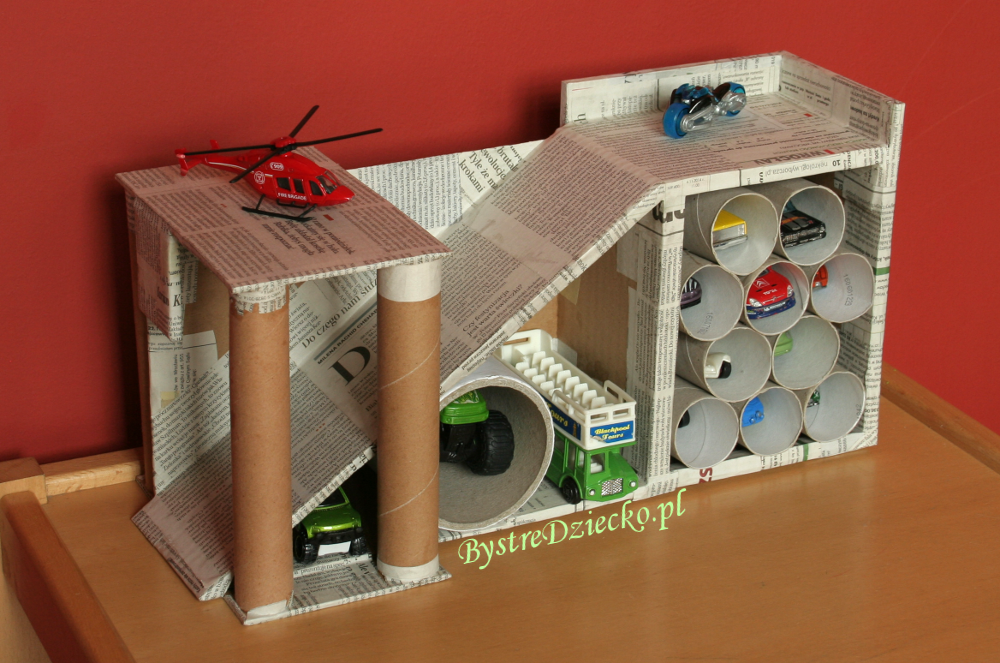
Warstwa papier mache wzmacnia garaż dla samochodów oraz umożliwia jego pomalowanie
Teraz to, co dzieci lubią najbardziej – dekoracje i malowanie. Najpierw na biało, by można było wykorzystać jasne kolory do pokrycia garażu (ciężko to zrobić bezpośrednio nanosząc farbę na papier mache). Do malowania wykorzystujemy farby akrylowe i lateksowe farby do wnętrz. Przydają się końcówki farb ściennych, lub testery kolorów.
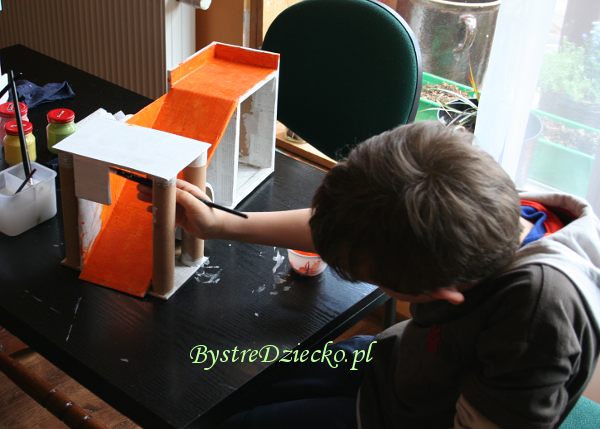
Painting garage
But this does not have to stop there. Son did not completely painted over a wall (back) – there was formed a bulletin board where the printing from newspapers penetrates the white primer paint.
On the other hand, it was also created 'workshop for mechanics’, with wheels, tires and hubcaps to replace. Thematic subtitles and photos glued to cardboard is nothing else but fragments of newspapers advertising. They were suspended on twine attached to the axle of the car. So much of it was: one of the axis with wheel still attached. It was enough to knock it in a cardboard box, hiding in the space between the layers of cardboard. Themselves wheels and tires we tried to stick with glue hot, but he badly kept on acrylic paint, I don’t know why. Better made here instant adhesive like superglue. With these adhesives, however, you have to be careful. Small children can work with them only in a very peaceful and not distracting atmosphere. Hot glue easily burn the skin, and instant adhesive easily glued fingers. If the atmosphere is not conducive to – stick adults!
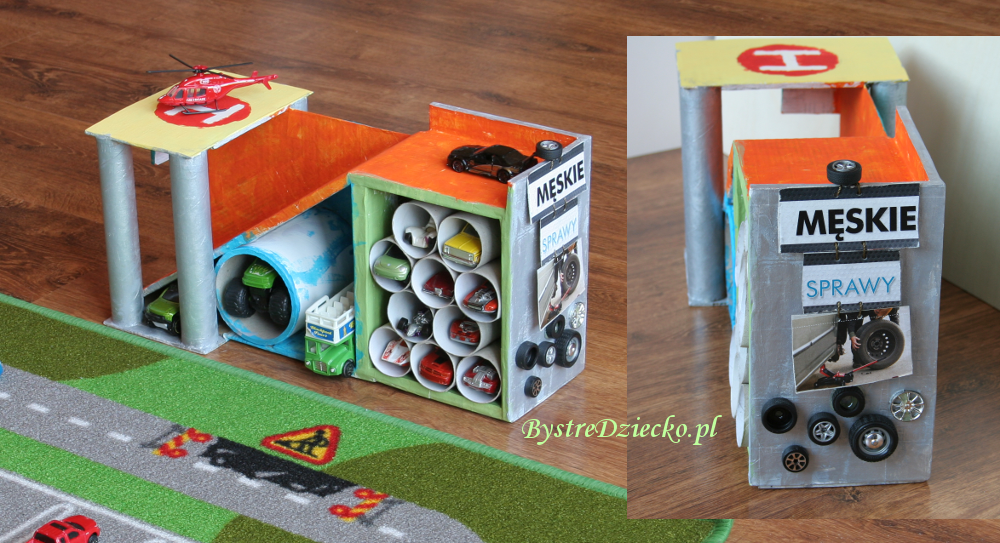
Decoration of garage in style recycling
So much for our advice. Garage for the boy was made, and we had fun, both for creative work and after its ending.
How do you like the results? Maybe someone will boast of their own ideas for toys or other everyday objects that can be done with the children?
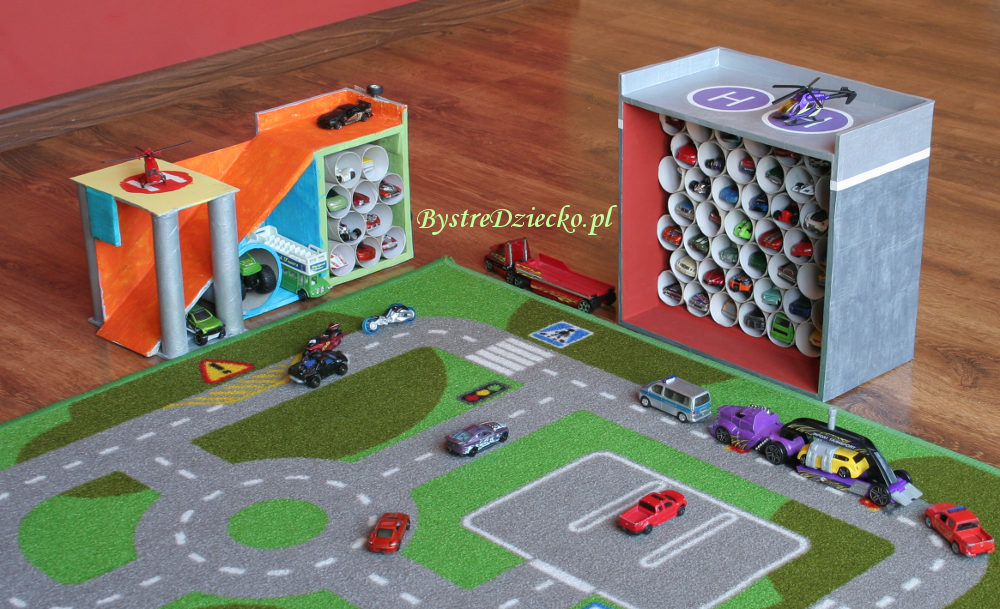
Toy garage made from empty cardboard boxes and toilet paper rolls

